How To Mix Your Low End – Kick, Bass, and Toms
Mixing low-end instruments is an important part of any musical production setup. In this blog, we’ll discuss about how to mix kick, bass, and toms together in a way that sounds good and catchy.

The kick and bass are two of the most important parts of modern music, in particular electronic music. Kick drums are the melodic pulse that keeps music moving. They are an essential component that guides the rhythm and establishes the mood. Bass is also an important component that contributes to the rhythmic feel. The kick and bass work together to create a musical foundation that anchors the beat and pushes the music.
The choices you make while manipulating the low end might make or break your music. The interplay between the kick and bass is critical in creating a solid and professional-sounding mix. However, getting the kick and bass to sit properly in the mix may be difficult.
In this blog, we provide 10 mixing strategies and tips to help you achieve a clear and strong foundation for your mix. With these suggestions, you may add punch, clarity, balance, and presence to your low-end:
1. Identifying The Issues First
The major difficulty with the kick and bass connections is that they both dominate the same frequency regions. Low frequencies carry a lot more energy than higher frequencies. An accumulation of low frequencies or transients causes clarity concerns, phasing issues, and headroom loss. Furthermore, untreated low-end will lead your mix to lose punch, presence, and level. Moreover, an unregulated low-end will make a limiter work harder, perhaps resulting in unpleasant distortion. Said so, masking or overlapping frequencies are troublesome.
The idea is to shape the kick and bass in a way that they may coexist in the same frequency regions without interfering with one another or other components in the mix. This task requires you to use equalization, dynamic control, metering, visual analysis of the waveforms, compression, effects processing, and your hearing to create separation.
2. Determining The Main Sound
It is critical to select whether the kick or bass will be placed lower in the mix. One must make room for the other. Making this decision early in the project aids in the avoidance of complications later on. Traditionally, the sound with the most constant and profound amount of low frequencies is placed lower in the mix. If you have a deep subby bass, consider a tight, snappy kick that is higher in the frequency band. If you have a huge boomy kick, you should either carve away frequencies in the bass to make place for the kick or utilize shorter notes that play higher in the spectrum. In either case, try to separate the two by placing the dominant sound lower in the mix.
3. Creating Separation
In modern music, the low-end frequency range goes from 20 to 250 Hz. However, the majority of the low-end energy is located below 100 Hz. The sub-bass frequencies range from 20 to 60 hertz, whereas the bass frequencies extend from 60 to 250 hertz. As we all know, overlapping low frequencies in such a limited region causes various issues and lowers important headroom. Most frequency masking issues can be effectively addressed with low-end separation. The strategies elaborated below can help you obtain a better separation between your kick and bass.
4. Equalization

One of the most effective methods to create separation and boost clarity is to use equalization to carve out frequencies. A parametric EQ with an integrated analyzer, such as FabFilter’s Pro-Q 2, is a good choice for precisely shaping frequencies. Here are a few suggested EQ strategies to get you started shaping your kick and bass.
Getting Rid of Unnecessary Frequencies
When aiming to produce a more defined low-end, removing extraneous subfrequencies from other instruments is a smart place to start. Using a high pass filter, go over the mix and eliminate any sub frequencies that may conflict with the kick and bass.
Furthermore, if the kick or bass is producing unnecessary rumble, consider reducing anyplace below 50 Hz to tighten up either sound. If there is a lot of unneeded or competing high-end energy, consider using a low pass filter to cut anyplace over 10 kHz. You might be shocked at how much louder the mix sounds when you remove frequencies that don’t add to the sound.
Subtractive Equalization
Now that the kick and bass are the sole instruments in the low-end, it’s time to get them to perform well together. The EQ steps are required to separate the two depending on the original material. However, there are several common frequency ranges that frequently produce issues. Using an analyzer and your ears, zero in on some of the difficult regions listed below.
If there is masking between 50 and 100 Hz, consider eliminating frequencies from the higher-frequency instruments to make place for the lower instruments. A high pass or low shelving filter can be used. The location of the cut is determined by how much low-energy presence you wish to remove.
Divide Frequencies
Once you’ve discovered any trouble spots, provide more room for both aspects to shine in the mix. To discover the sweet spots, use an EQ to sweep the frequency spectrum of both the kick and bass. Boost a bell curve with a tight Q and listen for basic tones, the most musical overtones, and the finest kick drum attack. If you opt to raise any of these musical frequencies, consider making a little cut to the same place on the opposite sound. This approach broadens the dynamic range of the two sounds at that frequency range and reduces frequency masking.
The idea is to bring out the finest in each instrument before carving out space for those elements to be heard more clearly. If you enhance a kick at 50 Hz to bring out the fundamental, consider decreasing the bass at 50 Hz to increase the kick’s presence. Dividing the frequencies in this way creates separation while also forming a more distinct low-end.
5. Kick Tail Length

Long kick decays are a common issue with the kick and bass connections. Long kick tails might interfere with a smooth bassline. Tightening up your kicks will give you more room to experiment with additional low-frequency stuff. A shorter kick fade, for example, will provide room for longer or deeper bass notes while also reducing low-frequency conflicts. If your bass is producing short, spaced-out notes, consider utilizing a longer kick to fill in the gaps. You may shorten the duration of your kick’s tail by using fades, volume automation, or gating.
6. Arrangement

The placement of your kick and bass might cause issues at times. If you’re still having trouble nailing a thick and powerful low-end, rethink your setup. When a kick is playing at the same time as an 808 bass or a sub, low-end control becomes tricky. If it still doesn’t add up, try varying the bassline beat or switching out the kick. You may also try raising the kick or bassline by a fifth (+7 semitones).
7. Stereo Imaging

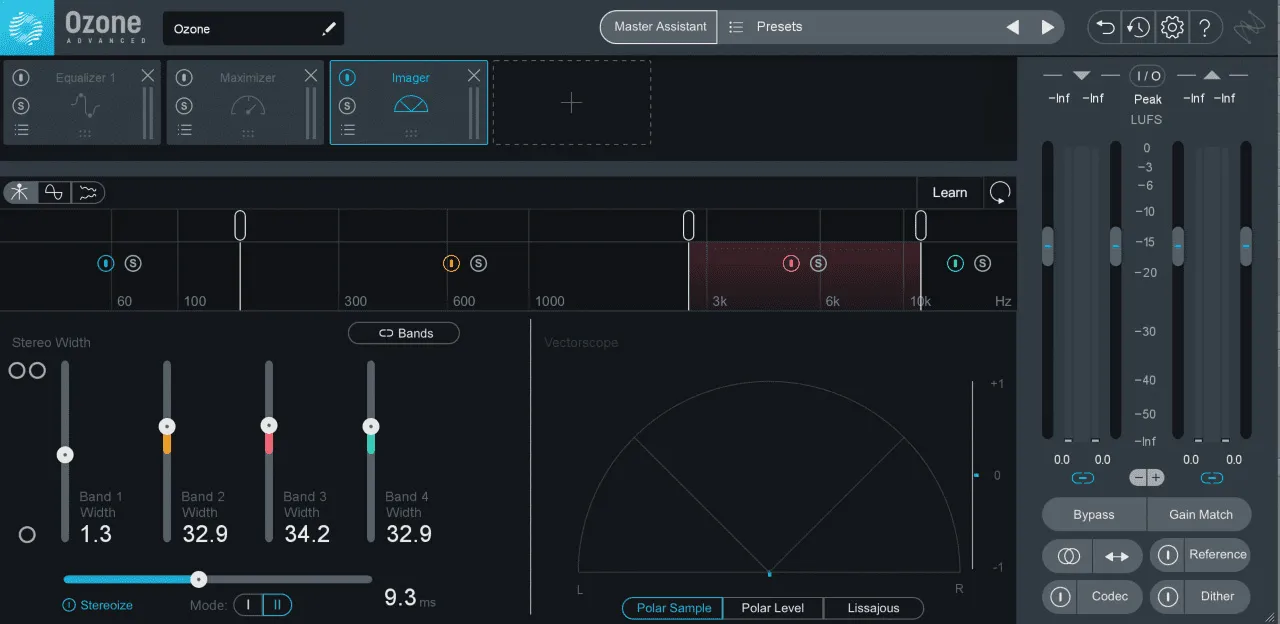
It is crucial to place your low frequencies in the center of the mix. For numerous reasons, kick and lower bass frequencies should always be in mono. Keeping low frequencies in mono preserves punch, aids in phasing avoidance, and allows the bottom end to translate properly on mono speaker systems. Furthermore, because low frequencies convey a lot of energy, they take up more space in a mix than higher frequencies. Centering them frees up room for components containing stereo information.
8. Compression of The Sidechain

Because the kick is the major driving element of a track, it must have enough room to cut through the mix. There are various methods to accomplish this. However, sidechain compression is the most used method.
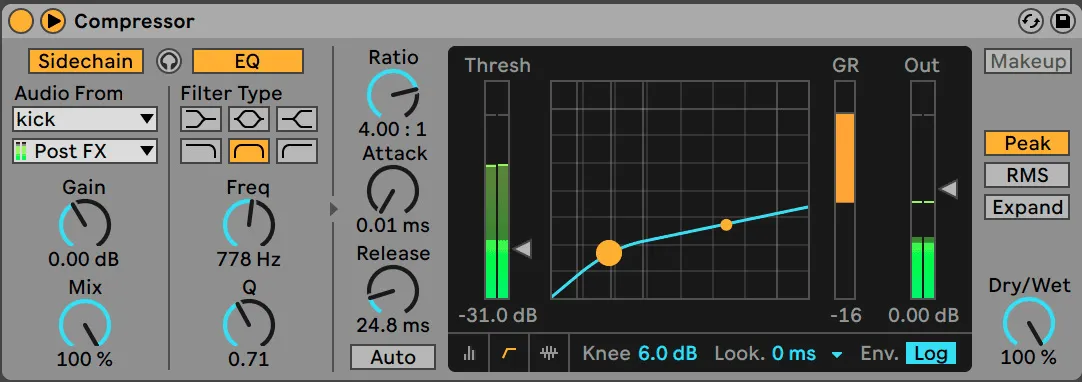
Sidechaining is the use of a compressor to momentarily lower the volume of a sound. An external sound source, generally a kick drum or similar percussive sound, initiates the compression. Sidechaining the bass with the kick, for example, can swiftly reduce the bass volume and create space every time the kick strikes. This is accomplished by placing a compressor on the bass track and selecting the kick as the external trigger source. The majority of DAWS provide native compression devices with sidechaining capabilities.
When the kick and bass rhythms play at the same time, sidechaining is quite successful in creating separation. Sidechain compression also produces a rhythmic pumping effect, which adds vitality. This approach allows the kick and bass to jive and interact rhythmically with one another. Alternatively, there are more current plugins that modify levels rhythmically without routing audio, like Xfer’s LFO Tool and Nicky Romero’s Kickstart.
9. Level Balance

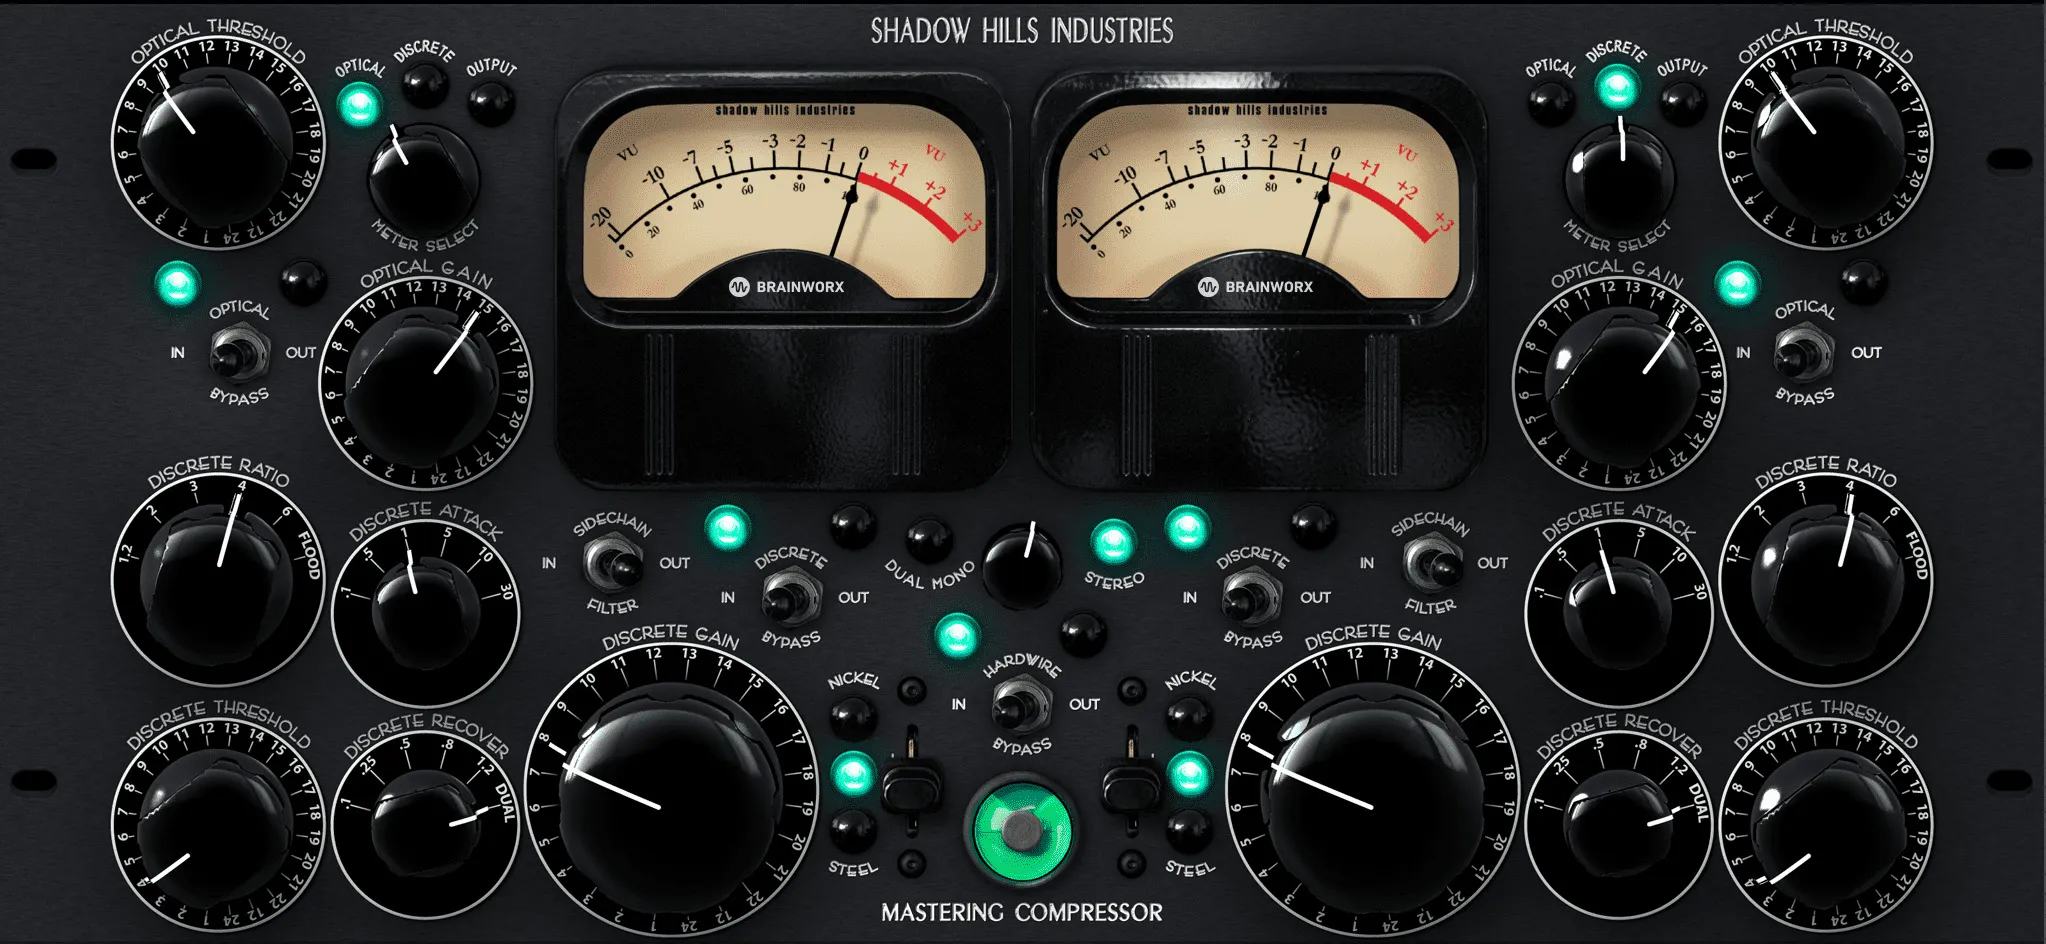
Check the levels now that your kick and bass are jiving properly. With the faders, balance the volume levels against each other, and then verify the levels in relation to the remainder of the mix. Besides, by using minor bus compression, you may produce a more balanced, unified mix. This motion is optional, so only use compression when necessary. Set up bus compression by sending the bass and kick to an aux channel with your preferred compressor loaded.
10. Optional Processing
in conclusion balancing the kick and bass is a multi-step procedure that may requires extra processing once separation and space have been established. The following strategies provide a few additional options for improving the low-end.
